-
Shop
- Adidas
- Advanced Technologies
- AI Skills Mastery 2026 Collection
- Best-Sellers
- Car Accessories
- Dating & Social Skills
- Digital Resources
- AI Skills
- Beauty
- Budgeting & Saving
- Car Buying & Ownership
- Cozy Feast Collection
- Electronics & Technology
- Entrepreneurship & Business Growth
- Financial Education
- Financial Independence
- Financial Mindset & Psychology
- Goal Setting
- Hobbies
- Home Styling & Organization
- Leadership
- Mindfulness
- Mindset
- Parenting & Child Development
- Personal Style & Fashion
- Pet Lifestyle & Wellness
- Positive Thinking
- Sleep Improvement
- Smart Life with AI
- Stress Management & Relaxation
- Travel Planning
- Yoga & Fitness
- Yoga & Mind-Body Practices
- Education & Learning
- Family & Parenting
- Fashion
- Furniture
- Gadgets
- Health & Beauty
- Health & Wellness
- Home & Garden
- Jewelry
- Kids & Babies
- Kitchen
- Kitchen Best-Sellers
- Nike
- Patio, Lawn & Garden
- Personal Growth
- Pet Care
- Pet Supplies
- Pets
- Sport & Outdoors
- Travel
- Wealth
- YouTube Shorts Best-Sellers
- Popular
- Best deals
Home Plyometrics: AI-Smart Jump Progressions & Safety
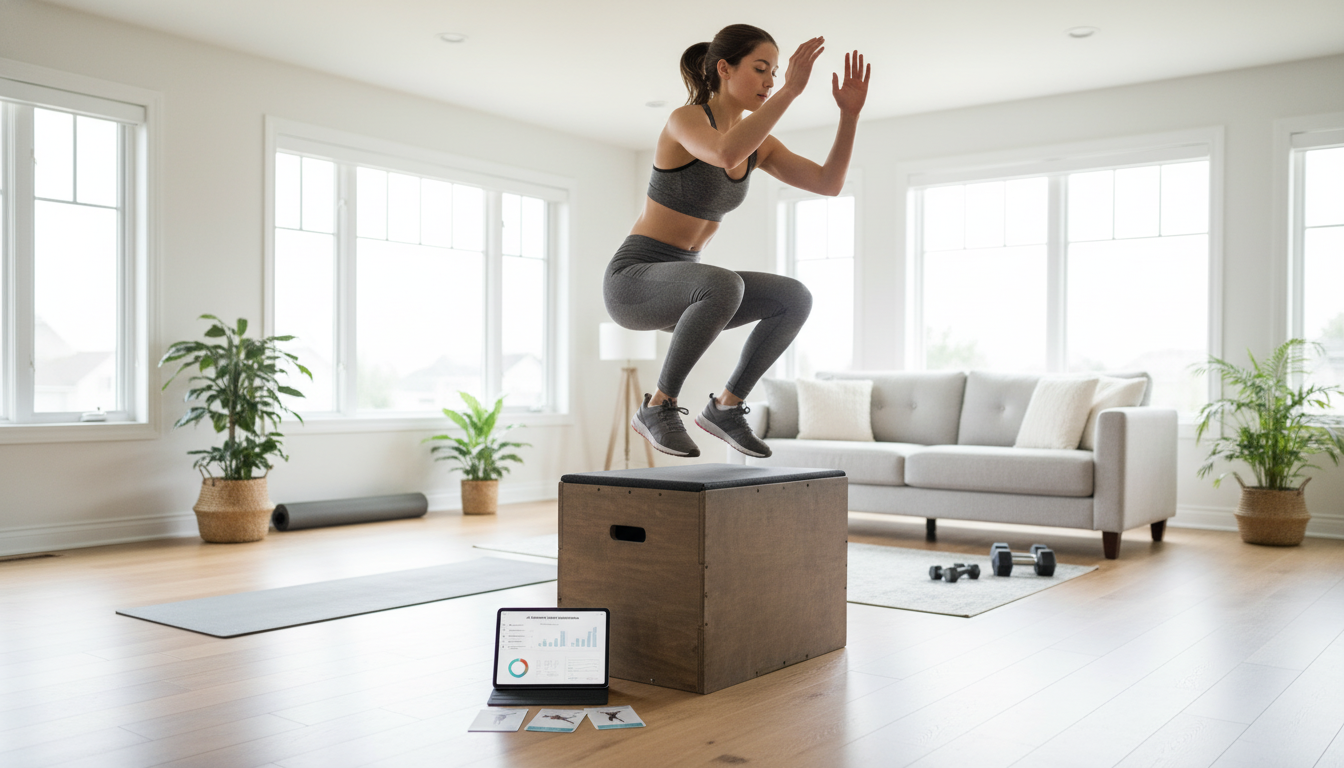
Jumpstart Home Plyo: At-Home Plyometric Training with AI-Smart Progressions
Plyometric workouts build explosive power using quick stretch-and-spring movements like jumps, hops, and bounds. Done correctly at home, they can improve athletic performance, calorie burn, and coordination—without bulky equipment. The key is treating plyo like a skill: crisp reps, smart progressions, and enough recovery so every landing stays controlled.
What Plyometrics Are and Why They Work
Plyometrics emphasize rapid force production by pairing a fast muscle stretch with an immediate contraction—often called the stretch-shortening cycle. That “load and pop” effect can improve jump performance, sprint mechanics, agility, tendon stiffness, and neuromuscular coordination when training is kept high quality.
At home, plyo is most effective when sessions are short, powerful, and separated by adequate recovery. Power drops quickly with fatigue, so plyometrics are not a “more is better” workout. Instead of chasing big rep counts, aim for repeatable landings and consistent output from the first set to the last. For deeper background on programming and safety considerations, see the NSCA Position Statement on Plyometric Training.
Safety Check: Who Should Modify Plyo (and How)
Joint readiness matters. Ongoing knee, ankle, or hip pain, recent surgery, or uncontrolled low back pain calls for medical clearance or a coached modification plan before high-impact jumping. Beginners also do best starting with low-impact options (snap-downs, pogo hops, step-off landings) before progressing to higher-impact jumps.
Prioritize landing mechanics every rep: quiet feet, knees tracking over toes, hips back, torso controlled, and no collapsing inward at the knees. Choose forgiving surfaces when possible (rubber mat, wood floor with a mat) and avoid slippery tile or uneven outdoor ground. Stop a set if landings get loud, sloppy, or painful—those are real-time signals that fatigue is winning.
More practical guidance on selecting and using plyometrics safely is covered in ACSM’s overview on plyometric training.
Warm-Up for Power: 8–10 Minutes That Make Jumps Safer
A short warm-up improves tissue readiness and helps you “find” strong positions before you leave the ground.
- Raise temperature (2–3 minutes): brisk marching, jump-rope simulation (no rope), or easy cycling if available.
- Mobilize (2–3 minutes): ankle rocks, hip openers, thoracic rotations, deep squat pry (as tolerated).
- Activate and pattern (2–3 minutes): glute bridges, calf raises, plank variations, band walks if available.
- Prime plyo positions (1–2 minutes): 3–5 snap-downs, 3–5 low pogo hops, 2–3 practice landings from a low step.
Core At-Home Plyometric Moves (No Equipment Needed)
Start with movements that teach braking and clean landings, then progress to bigger outputs.
Quick technique cues
| Move | Best cue | Common mistake to avoid |
|---|---|---|
| Pogo hops | “Spring through the ankles, land quiet” | Bending too deep at the knees and losing bounce |
| Squat jump | “Explode up, land like a ninja” | Rushing reps without resetting alignment |
| Skater hops | “Push sideways, stick and own it” | Knee caving inward on landing |
| Broad jump | “Jump far, land stable, pause” | Falling forward or collapsing at the hips |
A Simple Progression: From Low Impact to High Output
Two Weekly Templates (20–30 Minutes Per Session)
Beginner (2x/week) sample
Intermediate (2–3x/week) sample
AI Training Tips: Track Output, Adjust Volume, Recover Smarter
- Use a power score (1–5) after each set: rate height/distance, speed, and landing control. If scores drop by 2 points, end that exercise.
- Phone video audit: record one set from front and side to spot knee collapse, trunk sway, or left/right asymmetry. Clean up form before adding intensity.
- Auto-progression rule: if all sets are clean and the last set matches the first, add 1 set next time (or 1 rep per set). If not, keep volume the same or cut it by ~20%.
- Recovery signals: resting heart rate trends, sleep duration, and muscle soreness help decide between a full session, a lighter technique day, or rest. General weekly activity guidelines can be found on the CDC Physical Activity Basics page.
- Track jump contacts: each landing counts as a contact. Start low and build gradually to avoid overuse flare-ups.
Common Mistakes That Limit Results
Recommended Guide for Structured Home Plyo + Smart Coaching Prompts
If a clear weekly plan helps you stay consistent, use Jumpstart Home Plyo💥 | Guide to Plyometric Workouts You Can Do at Home + AI Training Tips for step-by-step progressions, technique checkpoints, and decision rules for when to progress or deload.
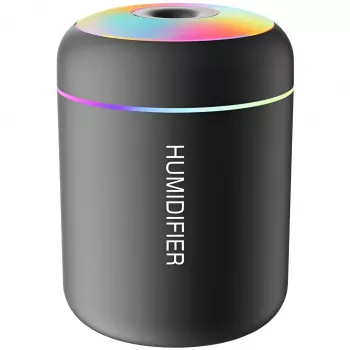
To make home training smoother, a follow-along setup and recovery-friendly environment can help. Consider the Ultra Short Throw Projector 900 ANSI 8K 1080P with Auto Focus & WiFi 6 to display workouts in a larger format, and the Mini USB Aroma Humidifier & Essential Oil Diffuser with Soft LED Light to support a more comfortable wind-down routine on training nights.
FAQ
How many days per week should plyometrics be done at home?
Two days per week works well for beginners, while experienced trainees may tolerate up to three. Keep at least 48 hours between hard plyo sessions and prioritize clean, powerful reps over more volume.
Are plyometric workouts safe for knees?
They can be, when landing mechanics are solid, volume is progressed gradually, and you train on a forgiving surface. If you have knee pain or a history of injury, modify to lower-impact drills and get medical or coaching guidance before increasing intensity.
What is a good beginner plyometric workout with no equipment?
After an 8–10 minute warm-up, do snap-downs 3×5, pogo hops 4×10 seconds, squat jumps 4×3 (reset each rep), and skater hop sticks 3×4/side with 60–120 seconds rest. Stop any set when landings get loud, sloppy, or painful.















Leave a comment